Hello again, we started the year and we come back even stronger and with new jobs. Today we show you a different change, we will decorate a trunk with paper and paint, but this time the paper goes outside. Next, we leave for you how to paint a wooden trunk.
How to paint a wooden trunk?
It is a fully plated trunk with a polyurethane varnish finish, very shiny, to which we are going to give a totally different look.
First step:

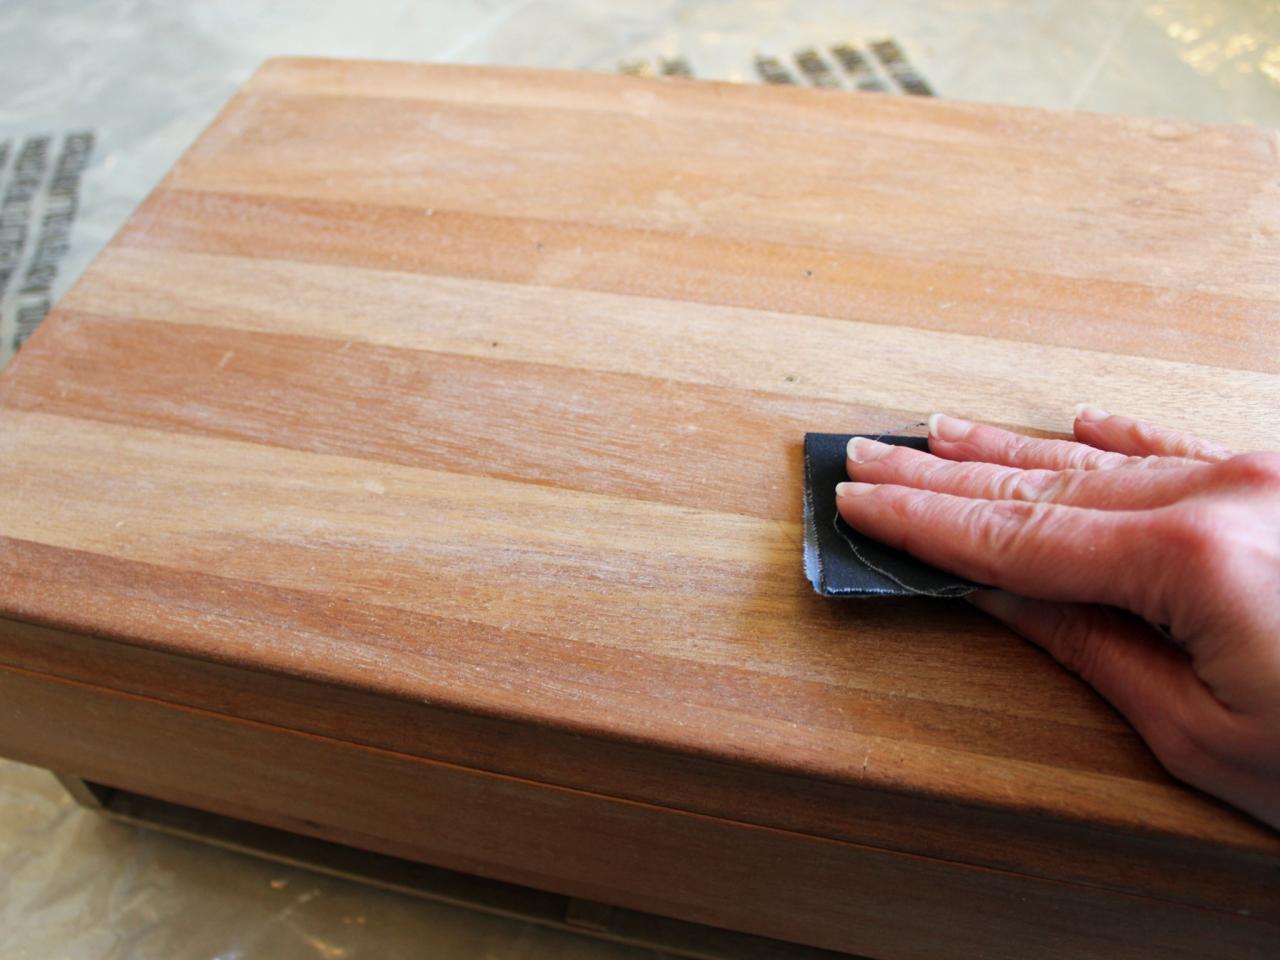
As shown in the image above, the first steps are to run the medium grit sandpaper sponge over all surfaces to tone the shine. After cleaning the dust and surfaces with water and grease remover. And we put a plaster on the chips and the missing veneer since we are going to cover with paint and it is not necessary to putty on wood. We are going to start by informing you of all the materials we have used.
Materials:
1.- Medium grit sandpaper sponge.
2.- White putty or plaster (the kind used for the wall) and a metal spatula.
3.- 35 pallets for painting and roller for smooth surfaces.
4.- Masking tape or paper, to protect color changes when we paint.
5.- Mary Paint paint, Natural Stone and Turkish Red colors, for the top and interior and exterior with Sea Foam Green also from Mary Paint.
6.-Adhecolman, adhesive for the paper also from Mary Paint.
Second step:

Paint the outside in seafoam green, painted with a roller and the moldings with the trowel. The trunk lid and the inside of the moldings were painted in natural stone. Of course, it has been this paper that has guided us in the colors we have chosen for the exterior.
Third step:

Stick the paper on the wood. To do this, with the help of a brush we have applied the product on the wood. Then we stick the paper little by little. You don’t put the glue on the entire surface, you start by positioning the paper in its place. Then we lift one side and put the adhesive and glue that side. Then we lift the other side and finish applying the adhesive to the rest of the surface. And we already paste the rest of the paper. With the help of kitchen paper in our hands, we stick the paper little by little.
With kitchen paper, we prevent the decorative paper from wrinkling or breaking when pasting. As can be seen in the image we have glued the paper from the drawer making it coincide with the one on the top. Now to finish we go inside which is the last thing we have to paint.
Fourth step:
We painted the inside of the trunk lid with Mary Paint’s Turkish Red color. Next, we show you the finished trunk and how it looks inside. We have kept its hardware, the originals both on the key and on the drawer handles. And finally we show you how it is closed. As always, we hope you liked the change. Its owner Reme Escudero is delighted, it has been beautiful!
Read now: How to Restore an Old Trunk?
Ideas for tuning a trunk
It is probably one of the timeless pieces of furniture that, no matter how much fashion and decorative styles change, it is never out of place. In addition, an old trunk found in an old attic is a gift for lovers of restoration and tuning.
Thus, the same piece can fit into different environments and settings, we just have to find the finish that best identifies with our style. And, for this, nothing like discovering new and varied works and designs that can offer us the inspiration we are looking for. So here are five great ideas for tuning and renovating a trunk.
A shoemaker trunk
Nothing like taking advantage of our piece while we restore and decorate it. Thus, the first steps of the process were oriented precisely towards restoration, for which it focused on the sheet metal parts that were straightened and painted black. As for the wood, it was enough with a sanding and varnishing process to make it look like the first day. Finally, for the golden areas they decided to opt for a quick and effective solution: spray painting.
However, the ‘surprise’ of this trunk is inside, since it has been used as a shoemaker. For this, he bought a cabinet module and attached it to the trunk space.
Aging technique with coffee
In the second design, we find a technique aged to reach everyone with a more than convincing: T ENIR with coffee. To do this, the first thing to do is to dye with the help of a sponge the drawing that we are going to use to decorate our trunk.
When it has dried, we will only have to paste each of the illustrations on the surface of the trunk with a mixture of white glue and water and finish by applying a transparent varnish to serve as protection.
Decorate with decoupage
On the other hand, we have the option of decoupage, which we can also find put into practice. Thus, the process followed on this trunk was as follows:
– Sand the entire surface well.
– Paint it with a raw tone.
– Line the central part with black and striped napkins.
– Apply varnish on the paper.
– Aging with Judean bitumen and sandpaper.
Vintage style trunk
In this other design, we learn how the protagonism of the transformation has focused on color, with a striking hue that rejuvenates it but without renouncing the retro or vintage style and the lines of the trunk, which have also been deepened with an aged effect obtained from a dye.

