Sooner or later, and often without extraordinary factors intervening; the little things in our home lose their useful life. It is common for a minor element to be damaged from time to time; of those who did not notice that they were there until they are gone. And, although some may simply be replaced; others are worth giving them a second chance. For that reason, today in hdecor ideas, we want to teach you how to repair doorbell of your home.
And this is one of those elements that meet the descriptions mentioned above, but the most curious of all; is that we, the owners of the doorbell, are not even the ones who interact with him. So we can not know if it is working wrong or not until someone tells us; or worse, and that is usually the majority of cases; until someone knocks on the door of our house and then shouts saying Good morning!
How To Repair Doorbell Of Your Home

A bell is composed of two main elements: the bell and the bell box. Therefore, when the doorbell breaks down; we must take into account both possibilities, if one is in perfect condition, it may be the other that is failing them.
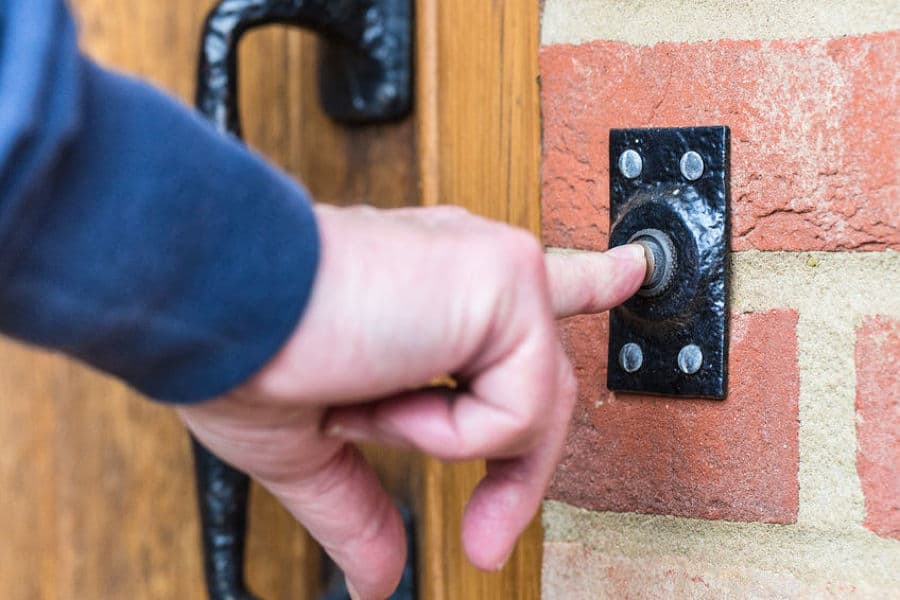
The button of a bell, despite looking like a normal switch in our house; It is slightly different inside. Due to a spring system; this switch does not remain static in the position that we press it, but returns to its original position. However, it is just that; a switch that does not stay still.
The area of the bell is a bit more complex but just as simple. It consists of three key elements:
- The terminals to which the cables are connected and where resistance is located
- A rod that is surrounded by a coil (the rod acts as a hammer)
- Two metal sheets in front of each tip of the shank (these sheets serve as bells)
At the moment of circulating the current through the coil of the stem; an electromagnetic field is produced which forces the spring around the hammer of the rod rapidly towards one of the bell blades.
While there is currently flowing through the coil, the stem will remain in that position. When the current stops flowing, the spring retracts suddenly; which causes the hammer of the shank to hit the other bell blade.
The current circulates when we press the buzzer, and it stops circulating when we release it. Hence, a timbre produces two different sounds; which can vary in intermittency according to the speed that is pressed and release the ringer.

What you should have before starting to repair
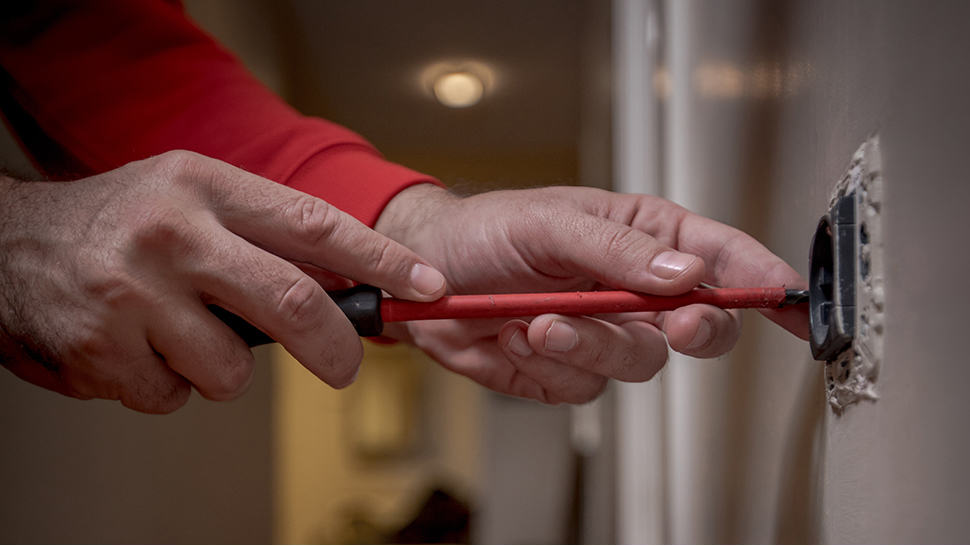
Beyond the traditional tools that every person usually has at home, when it comes to looking for electrical breakdowns, there is something that can not be missing; a current tester.
Similar to a screwdriver, these small appliances (which are very economical); they allow us to detect which is the phase and which is neutral in a circuit, without the need of a sophisticated measuring instrument.
That is why from Visita Casas we strongly recommend that you invest in buying one; It will be very useful in your daily life.
Most common breakdowns
Knowing our electric bell thoroughly, let us then analyze the most common faults and, therefore; The first places we should check when it stops working.
The push button
The most common failure occurs in the element of our timbre that is more exposed to the weather and constant use. Fortunately, the button is also the most economical of the components of our timbre; so do not complicate things much and simply replace it when it fails.

Identifying if it is broken can be a bit complicated for those who do not know how to do it; but do not forget that it is a button, not a switch. So it gives us an idea of what may be failing.
The most common failure in the pushbutton is its system of oscillation; either because he is not making contact when he presses it, or because he has stopped coming and going; being stuck like a switch. Again we tell you, the best way to repair it yourself at home; is replacing it directly with a new one.
If the button is in good condition and, clearly you can see that it works well; Before checking the hood system, it is best to check for current flow.
The pushbutton must have two wires connected, but this is the same phase that enters and leaves the switch; the exit goes towards the bell/bell. To check that the switch is in perfect condition, you must press and; with the current tester, check whether there is a current in the output cable or not.
The input cable will always cause the tester to light/react; but; the output should only do so when you press the button. If there is no positive reaction on the output cable; then it is the button that you must change.
Suffice it to say that, if none of the cables detect current; then the problem is purely electrical and comes from the power source.
Repair the bell

Having checked the switch, it’s time to move on to the “complicated” part. Four possible elements may fail in the bell box:
- The resistance
- The winding
- The spring of the shank
- The plates that make the sound when hit
The resistance
It is practically impossible to check if resistance is working correctly without using a measuring instrument. However, it is also very easy to notice when resistance is burned. So a visual diagnosis should be enough to notice that it is the resistance that should be supplanted. You must remove the burned resistance and take it to your local hardware store to acquire a new one. It is important that you carry it, and that not all the resistances are the same in the timbres.
Although another option is that you write down or draw a picture of the exact colors that the lines have in the resistance; these lines are the ones that give the value in ohms of each resistance.
The winding
If the magnetic field that is generated is not powerful enough, the rod will not cause the spring to flex. Similar to when a fan starts to fail in its revolutions; The same applies to any device that consists of a winding with copper wire.
To check this, you must open the bell box completely and have someone press the button; If you see a weak action, then it is most likely that you are facing a winding problem. You must change the whole piece if it is like that.
The spring around the stem
One of the faults is also very common, especially in the older timbres. Due to use, rust or at the same time; the spring can suffer large deformations and even break.

The bell plates
This is one of the most common faults in places where the weather is usually very cold or very hot. The dilation or contraction of the metal; as well as the deformation of the timber structure. All this affects the way our bell rings.
For our luck, even the oldest bells come with two screws for each stage. Tightening or loosening these screws; You can adjust the distance at which the plates are from the shank hammer.
You can also vary the level of tension, which alters the sound of the plates to be impacted.
Wireless doorbells

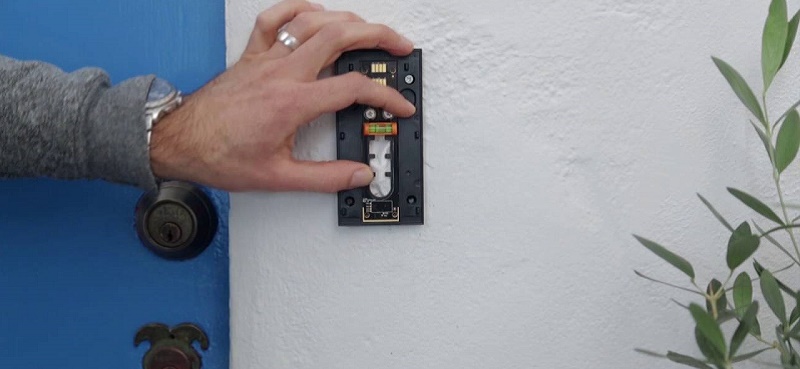
With the passage of time, the timbres have ceased to be electrical and have become a digital device. Using electronic signals, now the button is simply fixed to the wall and; The device that emits the sound and receives the signal, is connected to an outlet.
This new generation solves the problem of having to change the timbre’s wiring. In general, as it is an installation in the open; the wiring from the push button to the bell used to require a replacement.
Also, there is the case of timbres that are not of two plates; but of the typical and thunderous “riiiiiiiing”; which sound continuous while the button is pressed outside. These bells turned out to be a great annoyance.
The new digital models not only have a much greater scope; up to 100 meters without obstacles. They also offer us the possibility of changing the ring tone. Its only disadvantage is that the push button that goes outside needs a battery, which implies a small expense that you should take into account.
Read the manufacturer’s instructions and take the necessary precautions to change the battery before it runs out completely; an alarm on your phone can come in handy in this case.

