Who said that women could not? For many years and despite the era in which we are; The work of a mason and a plumber is something that only men can do. However, today in decor ideas we want to tell you that this is not the case and that you can repair your leaks or slabs in the bathroom. Therefore, today we bring you this guide from 0% to 100% on how to repair a bathtub. After having read this article, we guarantee that you will have the necessary knowledge to solve the most common faults.
How to repair a bathtub yourself?

So, instead of spending on the services of a professional, take pencil and paper and get ready. The only investment you will have to make will be in some tools, in case you no longer have them at home. Let’s start!
Rust problems
They usually occur mainly in the drain and is one of the most uncomfortable and unhealthy. After all, lying on rusted metal has never been anyone’s taste.
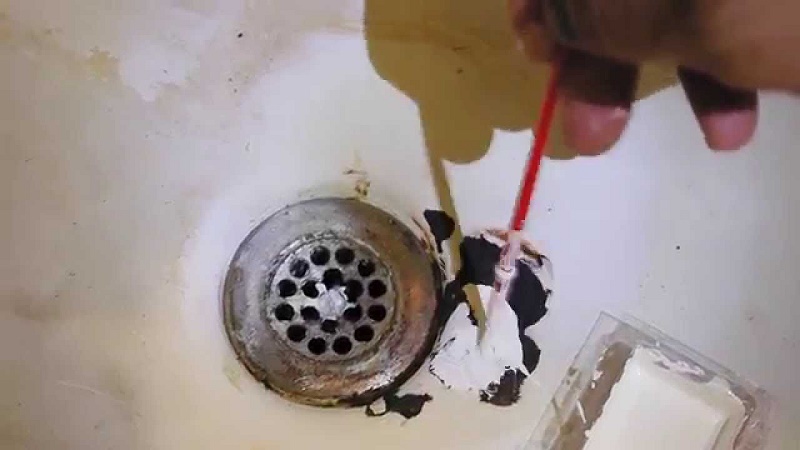
Although the metals of the components of the bathtubs should be made of stainless steel; Rust is often produced due to so many chemicals that circulate that metal, not just water.
For this reason, some people have to resort to an expert to replace the drainage ring; but do not worry, we’ll explain how to do it. We will also tell you how to remove the rust from the keys or tap.
Breaks and blows
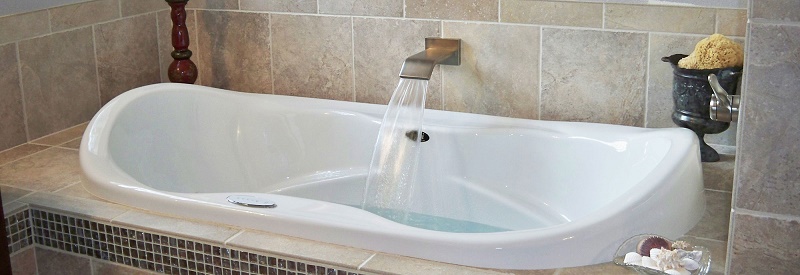
Being inside the bathroom and due to its shiny finish, people often assume that the bathtubs are made of the same material as the rest of the sanitary slab.
The truth is that, while the toilet or sink, is ceramic. The bathtubs are made of fiberglass fiber. For that reason, breaks, cracks, and bumps can be repaired.
It is true that the terms used by professionals in this trade can be intimidating (catalyst, 1: 1 mixing ratio, etc.) But here will explain in great detail what you should do and what each thing means. So, do not be afraid.
Unsightly spots
Other reasons why people call a professional is to paint their bathtubs. But guess! It is something that you can easily do yourself and for which you do not need expert knowledge. It is only necessary to follow certain steps, which are very important; but very simple, and that will also be explained here.

Leaks
Undoubtedly the most serious of all problems and for which most people prefer to resort to an expert; in advance, we tell you that it is okay to call a professional if you feel that the filtration is beyond your capabilities.
Anyway, we will explain the main ways to solve it easily and without compromising the integrity of your home or neighbor; in case the filtration is in a department where there are neighbors in the lower floor.
Removing the rust or the whole rusted piece

Let’s start with the one we consider most common and most basic of all the problems; our enemy rust us.
The drain, in case you did not know; It is screwed inside the bathtub. It could be said that it is a thread system like that of a screw but in reverse.
To this system of threads is placed a paste anti filtrations, which hardens with the passage of time. However, when combined with rust, it loses its properties, and even this can cause leaks. Not to mention that the thread system “sticks” and makes turning the drain to unclog it from the bathtub is almost impossible.
But here we give you the solution to this problem!
You will need two key components:
- One to help you remove rust from between the joints of the threads.
- Another one that helps you unscrew the bathtub drain.
Use WD-40 or a similar product
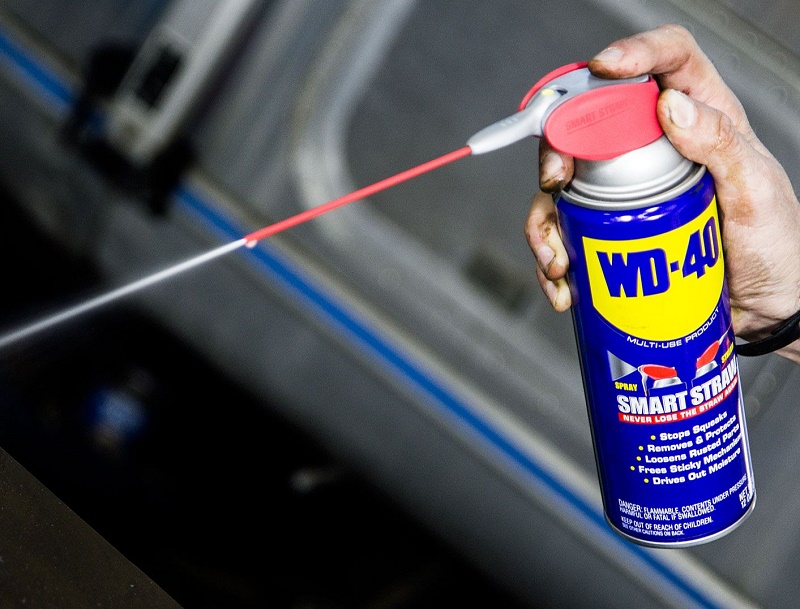
This product is one of those star allies in the professional toolbox. From mechanics to masons, plumbers and engineers; It has practically been recognized worldwide for its effectiveness, although it has many products in the competition that are similar to it.
It is a multi-purpose spray; in fact, it is known as the spray of the 2000 uses. One of those many things that can be done with this spray is to remove the rust from old parts.
Of course, it will not leave them polished and new again; but for cases like this, where rust does not let a system of nuts tighten or loosen, it’s excellent.
For that reason, to be able to remove that drains efficiently and without having to lose a whole day with a hammer. The first thing you should do is apply a product with the same characteristics as the WD-40, in case you do not get it in your country.
Let it act for 30 or 40 minutes; then we can move on to the next step.
Use a drain pipe remover

A tub drain extractor is a piece that the vast majority of professional plumbers usually have in their toolbox. It is not an expensive tool, but it is beneficial. So having her at home is not a bad idea; After all, it’s not just for the bathtub, but for any drain.
This piece makes the difference between having to fight for hours and make a lot of noise to extract the drain or; Do it all quickly and practice professionally. No noise and without risk of cracking the fiberglass of the bathtub.
You need to insert the piece into the drain. Its conical shape helps you determine how deep it must be before you start to turn it. To rotate it, you will need a ratchet socket key; another economic tool that you should have in your home and always at hand.
You will notice that after waiting for the WD-40 product (or the one you have chosen) to act; extracting the drain will not be complicated at all. Once you have removed it, the next step comes.
Clean the hole and all the joints of the thread, for this you must use running water. Remember that the chemist who helped you unscrew the drain continues to act and help you get rid of the rest of the rust.
However, we give you another trick and which you can use for any key or element with rust in your house. Clean with aluminum foil.
Although it is thin and “fragile” the aluminum foil is still a metal that when rubbed with another metal; by the action of friction causes the oxide to be removed. Now all you have to do is put the new piece, and you’re done!
Repair crack breaks and blows

Undoubtedly, the problem that causes the greatest fear to repair with our own hands is a bathtub with cracks. We know the consequences that it entails; and we know that, if it is not repaired with time, the problem will only get bigger, but do you know how to solve it?
As we have already mentioned, the bathtubs are not made of ceramic but fiberglass. Hence, they do not have to be replaced when they are broken.
The product you will use can be found under the name of Tub & Shower Repair Kit and, as its name indicates; It is a repair kit for this kind of problems. This kit includes:
Repairing the bathtub
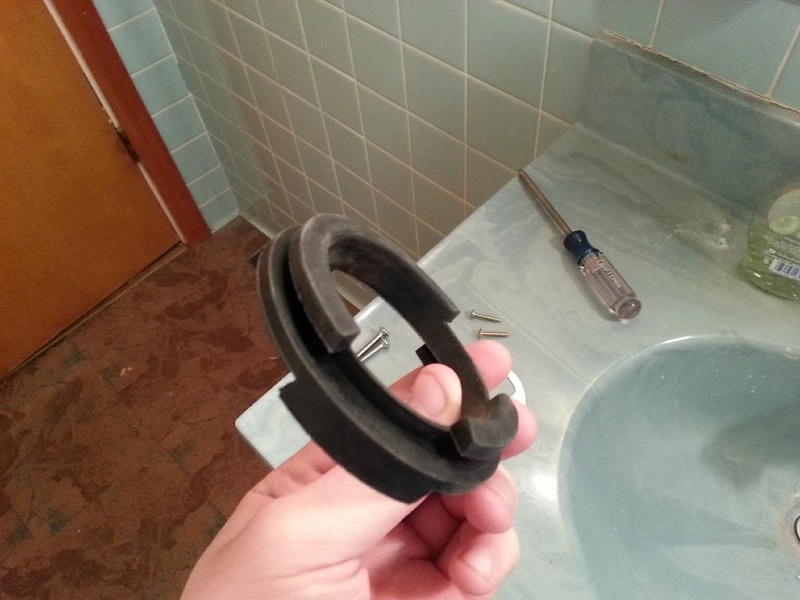
The repair process is very simple and, surely, in the box, you will also find specific instructions given by the manufacturer.
The first thing is to clean and disinfect the area of the tub to be treated. For this is the small cloth with alcohol that is included. Not only do you focus on the crack, but the cloth also goes through the whole area.
Then, you must mix both products. Depending on the size of the crack, you will need only half the mass/paste. For that amount, you only need to add 5 or 6 drops of the special liquid.
It is important to keep in mind that you have 5 minutes maximum before the mixture starts to harden; so do not hesitate to apply it. You can use a small spatula or if the kit comes with it; of the mixing paddle.
Wait about two hours before continuing with the repair.
Our recommendation is that, for sanding; use two types of sandpaper. One is P-400 and the other P-600.

The sandpaper must be wet when it is passed over the repaired surface and begins with the smallest number before moving to the largest number of sandpaper.
Now, yes, use the paint restorer that comes in the repair kit. If you remember well, you wiped the cloth with alcohol beyond the area to be repaired; The same should be done with this product.
By doing this procedure following the instructions that we have given you, you will have repaired your bathtub yourself!
Just keep in mind that, the greater the crack or blow; You may need more than one kit. However, the process is always the same; Do not forget to check the manufacturer’s suggestions and instructions.
Unsightly spots

This is undoubtedly the worst of the enemies you can have in your bathtub; not only affects the aesthetics of your bathroom, but it can mean a focus for fungi and bacteria to thrive.
Also, it is one of the most expensive problems to solve when a professional is hired to repair it; so, if you want to save money, learn something new and feel proud of your work, pay special attention to this section.
Materials
The first thing you should know is that this work in particular; It requires the use of various materials and components. This is where most people feel overwhelmed because the process is done in two steps and using four very specific products to enamel the bathtub.
- Thinner
- Two-component epoxy primer
- Two-component ceramic appearance glaze
- Foam rollers for enameling and that are special for two components
- Gloves
- Mask
- Masking tape
- 2 rags
- Brush
You should know that the materials above have special indications according to the manufacturer, but here we will give you a general overview that will be of great help when it comes to applying them.
Applying the thinner

This product is mainly for cleaning the entire bathtub. You can replace it with alcohol or even chlorine (although the latter is not as recommendable); the important thing is to clean the bathtub properly and with care before starting work.
Why two rags?
One of the most important passages before doing the real work of re-glazing; is to dry the bathtub.
We are not exaggerating when we say that drying the tub well is crucial for the job to be perfect; If you do not dry your bathtub well, you will be wasting time, money and product.
Two-component primer
Since we will not use a conventional paint, it is necessary to prepare a two-component primer. One is the catalyst, and the other is the primer as such.
You must mix it in a 1: 1 ratio. Remember to open the door and the window, work with the extractor always on and; Do not forget to put on your mask and gloves.
At this point, you must have all the metals and the wall covered with bodybuilder’s tape. Start by painting the “delicate” edges with the brush and, once that part is finished; you can go to the roller, to print the rest of the tub.
When you have finished, you should wait at least 6 hours for the primer to dry before applying the enamel.
Applying the paint with a glossy finish
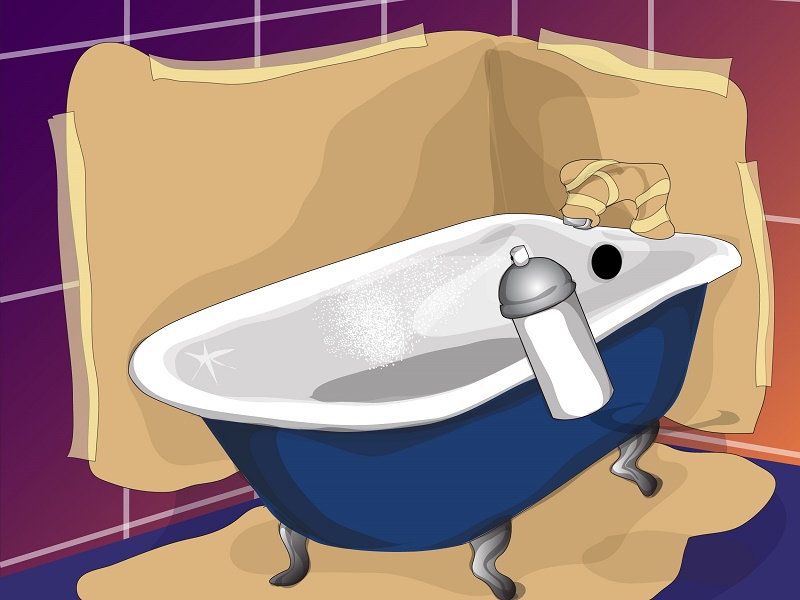
Enamel is also two-component. There are two ways to do it: one fast and the other slow.
And it should be noted that both ways of working work very well; only that you will need a little more experience to apply one before the other.
In Visita Casas, as we have already done this type of work several times for several clients; it is easy to apply the quick method, but do not worry, here we will explain both.
The slow way
It consists of doing the work in two stages and using the second one for two-component products. At this point, you must first mix only half of the paint with half the catalyst.
It is essential that the mixture is homogeneous, so be sure to thoroughly remove both products before applying it with the brush and then the roller.
The drying time of this first hand must be, at least; 12 hours Only then can you mix the rest of the products and apply the second hand following the same procedure.
The fast way
This process requires a bit of cunning. The first thing is to mix all the paint with the catalyst; since we will be using it all.
Second, they use an empty, disposable container like glass and start to see the mixture in the tub from top to bottom.
Thanks to the bodybuilder’s tape, you will not have to worry about staining the tiles; In any case, do it very carefully.
You will notice how the paint will begin to slide into the bathtub; this is where the second step comes from. Use a spatula (either improvised or metal), and begins to spread the paint all over the surface of the bathtub.
Avoid having spaces like more paint than in other areas. Carefully spread with the same softness that the cement or the lining of the walls extends with the laying spatula.
Work, done in this way; It will be ready many hours before but remember that you should do the laying of the painting well.
In any case, it is recommended before you can go back to bathe in your renovated bathtub; is to wait at least three days. So, meanwhile; use the shower.
Leaks
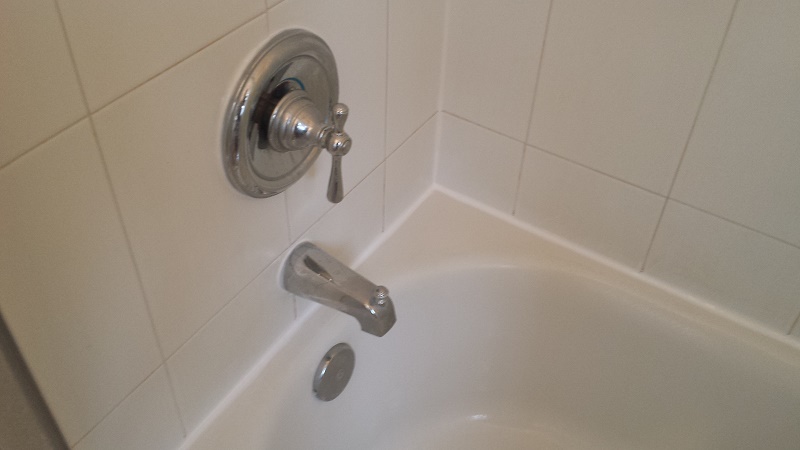
The leaks are the biggest problem you can find and how to solve them; is identifying exactly what is causing them.
Keep in mind these three points:
- The drain can cause a leak from the bathtub
- Filtration may also be due to a crack or blow that has broken the fiberglass
- The internal pipes have been damaged
For the first and second cases, we have already given you the solutions. Repair the bathtub removing a drain and placing a new one that is not rusted and with new anti-leakage paste can solve the problem.
On the other hand, cracks should be covered promptly, but it is a very simple process.
When the filtration comes because of an internal pipe or, you can not see the origin. That’s when you should call a professional.
We say this because, if the wall should be broken or the bathtub removed; the best thing is to let someone with experience do it. Also, professionals use individual instruments to detect water leaks without having to break the wall or the floor.
These instruments are expensive and are only used for that specific function; Before buying it, it is best to call the expert in the trade.
So, with these how to repair a bathtub guide, we say goodbye. Now you are ready to repair your bathtub and leave it gleaming like the first day.

