
A reliable garage door spring replacement keeps your family safe, shields valuables from weather, and adds instant curb appeal. Yet many owners overlook the tiny but powerful springs that do the heavy lifting. If you give them attention now, you can avoid emergency repairs later. As the home‑care site House Needy explains, proactive maintenance almost always costs less than last‑minute fixes.
Why Garage Door Springs Deserve Your Attention
Garage door springs counterbalance hundreds of pounds every time the door opens or closes. When they reach the end of their cycle life, they can snap with explosive force. Additionally, a broken spring can jam the door, trapping your car or creating a security risk until help arrives.
In other words, planning for garage door spring replacement before failure is not just smart—it is essential. Knowing the basics now will save you panic (and money) later.
Early Warning Signs of a Failing Spring
Detecting problems early is simple if you know what to watch for:
- Uneven movement – One side rises faster, causing a crooked door.
- Loud bangs – A sudden gunshot‑like noise often signals a snapped spring.
- Gaps in the coil – Visible separation where the metal should be tight.
- Door feels heavy – If you must strain to lift manually, the spring is losing tension.
- Excess squeaking – Persistent noise after lubrication may indicate wear.
Addressing these symptoms promptly prevents full failure and reduces repair bills.
Factors That Affect Spring Lifespan
Several variables determine how long your springs last:
- Cycle count – Most torsion springs are rated for 10,000 cycles (one open and close).
- Climate – Humidity and salt air accelerate rust and metal fatigue.
- Door weight – Heavier custom doors place extra strain on springs.
- Maintenance routine – Annual inspections and lubrication can add years of service.
- Quality of installation – Correct balancing and alignment matter from day one.
Therefore, tracking average daily use and scheduling regular tune‑ups are the best ways to predict replacement timing.
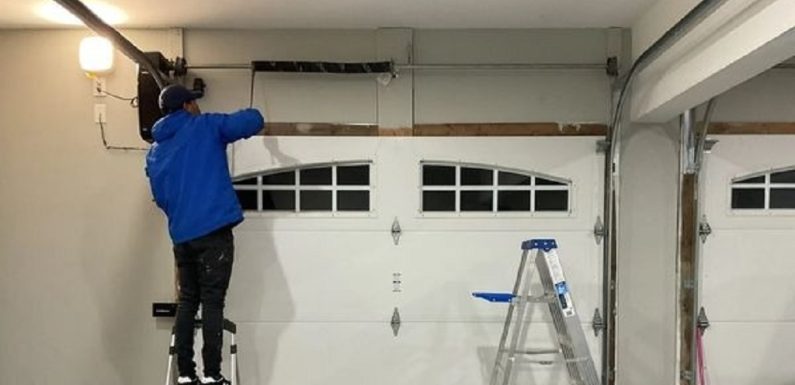
DIY vs. Professional Service
YouTube makes spring swaps look easy, yet high tension turns mistakes into medical bills. Professionals carry specialized winding bars, know how to secure cables, and hold liability insurance. DIY can be tempting for extension springs, but torsion springs pose more danger because they store more energy.
Choose DIY only if all of the following are true:
- You have the exact replacement parts.
- You own the right safety gear (eye protection, locking pliers, winding bars).
- You understand every step before loosening a set screw.
Otherwise, call an expert. Your hospital deductible will always cost more than a service fee.
How Much Does Replacement Cost?
Pricing depends on spring type, door size, and regional labor rates. According to Bob Vila, most homeowners spend between $150 and $350 for a single torsion spring replacement, while dual systems run higher.Bob Vila Add extra if pulleys, cables, or bearings need attention. Travel fees also rise after‑hours, so plan service during regular business times.
Hidden Costs to Watch For
- Emergency surcharges – Night or weekend calls can double labor costs.
- Hardware upgrades – Older openers may need stronger drums or anchors.
- Door imbalance fixes – Technicians may advise adding a second spring for safety.
Getting a written bid before work begins avoids sticker shock.
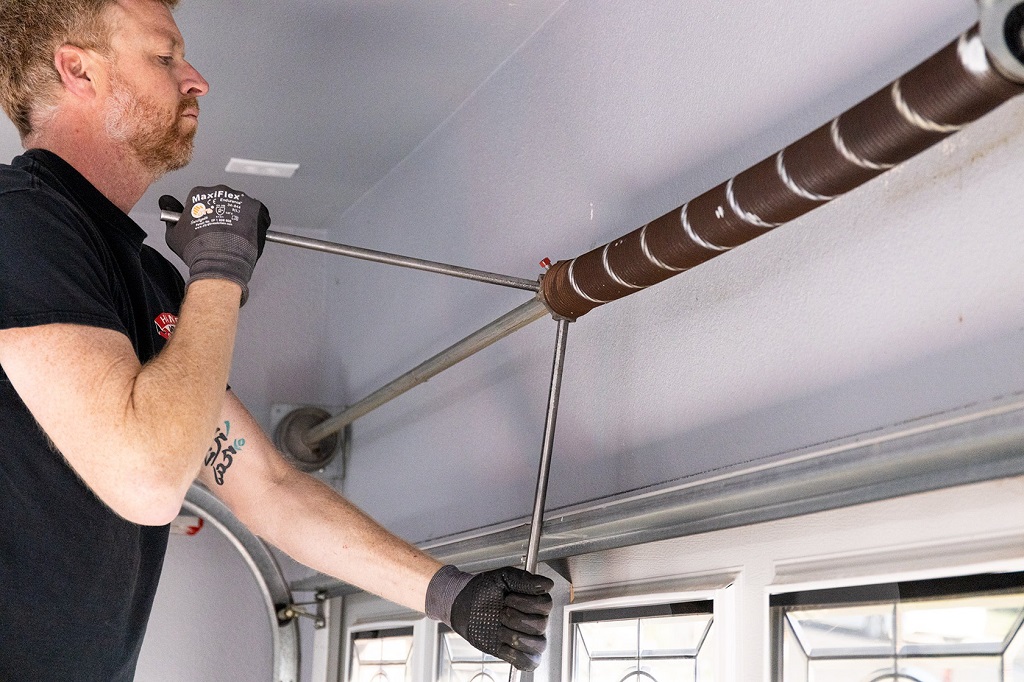
Safety Tips Before You Touch Anything
- Disconnect power – Pull the opener plug and use the manual release cord.
- Clamp the track – Lock vice grips below the roller to keep the door from falling.
- Wear gloves and goggles – Metal shards and sudden recoil cause injuries.
- Never loosen set screws abruptly – Release tension slowly with winding bars.
- Stand to the side – If a tool slips, you avoid the direct line of force.
Following these rules can turn a dangerous chore into a routine maintenance task.
Regular Maintenance to Extend Spring Life
Keeping springs healthy is cheaper than replacing them. Set a recurring checklist:
- Lubricate every six months with a non‑silicone spray to reduce friction.
- Test balance quarterly by placing the door halfway; it should stay level.
- Inspect cables and pulleys for fraying; replace worn parts promptly.
- Check opener reverse mechanism monthly by closing on a 2‑inch board—an old CPSC guideline that still saves lives today.U.S. Consumer Product Safety Commission
Additionally, consider upgrading to high‑cycle springs if your household uses the door as a primary entryway. They last up to 25,000 cycles and add only a modest premium.
Read More Also: How to Build an Outdoor Storage Cabinet to Organize Your Backyard
Conclusion
A garage door spring is small but mighty. Recognizing warning signs, understanding costs, and scheduling timely garage door spring replacement keep your home secure and your family safe. Plan ahead, follow safety best practices, and call certified technicians when in doubt. Your future self—and your budget—will thank you.
Read More Also: Unexpected Surprises: Dealing with Challenges in Gut Renovations
Frequently Asked Questions
-
How often should garage door springs be replaced?
Most torsion springs last 7–14 years, or around 10,000 cycles. High‑cycle springs can double that lifespan.
-
Can I replace just one spring if the other still looks fine?
Professionals recommend replacing both to maintain balance and prevent uneven wear.
-
What happens if I keep using the door after a spring breaks?
The opener motor strains, cables can snap, and the heavy door may slam shut without warning.
-
Are extension springs safer than torsion springs?
Both can be dangerous if mishandled, but torsion springs store more energy and thus pose higher risk during DIY.
-
Does homeowner’s insurance cover spring replacement?
Policies usually treat springs as wear‑and‑tear items, so standard coverage does not apply. Check your policy for mechanical breakdown riders.