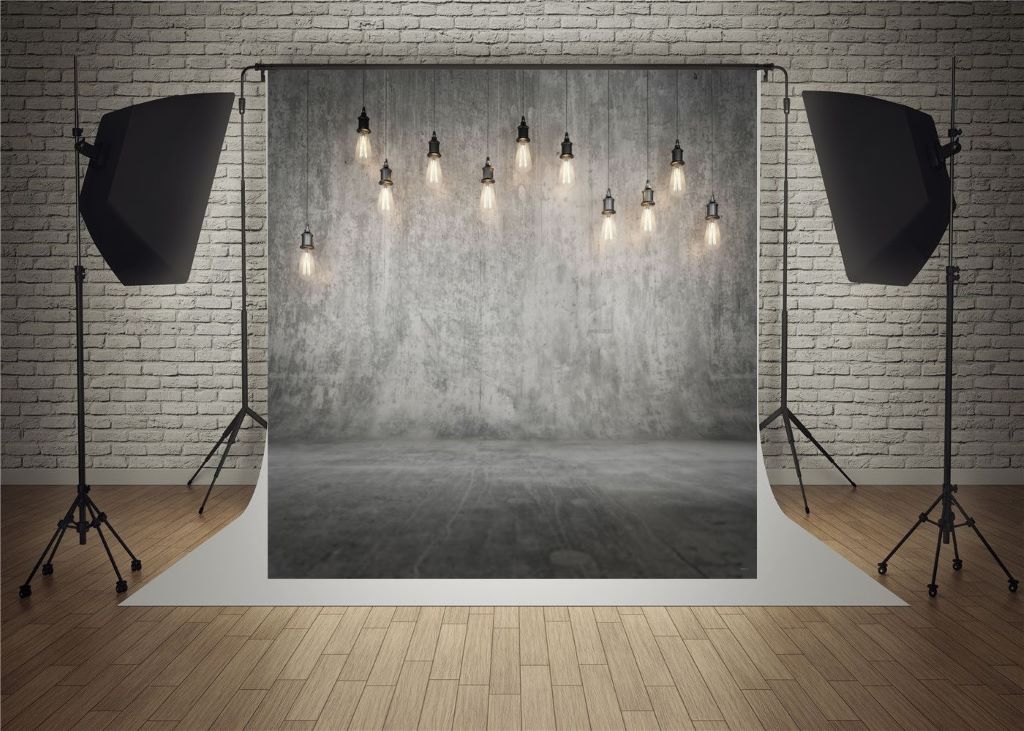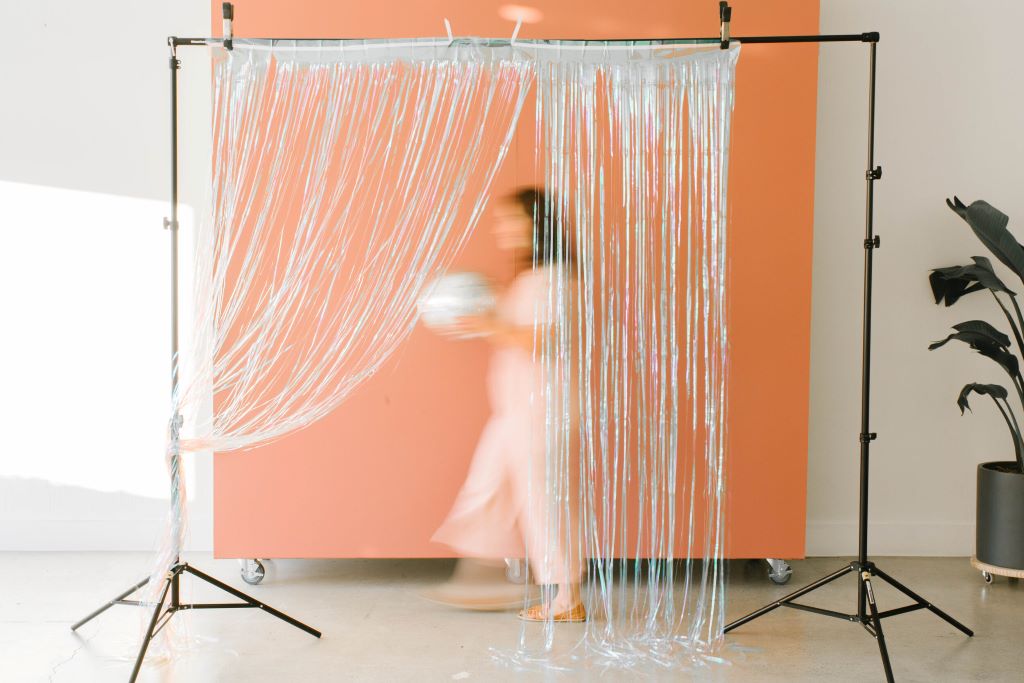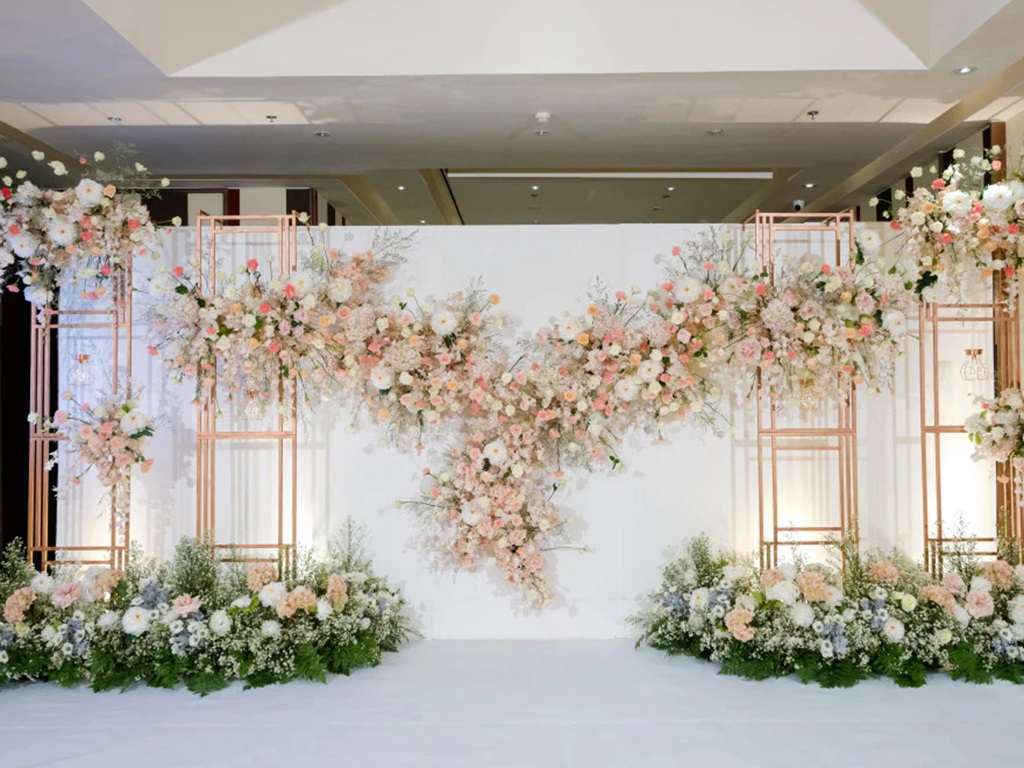
Enhancing the quality of photography requires skill and the right equipment. One of the most effective ways to achieve a professional look in your photographs is by utilizing a backdrop stand. This apparatus facilitates the mounting of a backdrop of your choice, providing a neat and uncluttered background for portraits, product shots, YouTube videos, and other types of visual content. We’ll cover everything from choosing the right stand to picking a backdrop, setting it up properly, adjusting the height and angle, arranging lights, clipping on fabrics, and taking it all down for storage or transport. I’ll even throw in some handy tips, tricks, and common mistakes to avoid along the way!
So grab your gear and let’s get you from photo flop to photography fab.
Choosing a Backdrop Stand
The first step towards backdrop greatness is picking out the right stand for your needs. Here’s a quick overview of your options:
Portability
Do you plan on traveling with your backdrop or setting it up in multiple locations? If so, prioritize a lightweight, collapsible stand. Smaller “mini” stands fold down smaller than one yardstick for travel. Larger 8-10 ft stands might collapse to around 4 ft or less.
Backdrop Size
Consider what size backgrounds you want to use. Mini stands accommodate backdrops 5 x 6 ft or smaller. But full-scale stands can stretch out to 10+ ft wide. Make sure to get one wide and tall enough for group photos.

Maximum Height
Check the maximum height for the crossbar at the top. Lower ceilings often do better with “short” 6-8 ft stands instead of “standard” 8-10 ft ones. But make sure it’s tall enough for all subjects to stand under.
Load Capacity
See what weight capacity the stand can handle without tipping. Cheaper hobbyist stands often max out around 22 lbs. But pro gear is sturdier for heavier lights, reflectors, and accessories.
Budget
Prices run the gamut from $50 mini stands to $500+ professional studios. Set realistic expectations for quality and durability at each tier.
I personally recommend starting with an affordable 9 ft stand in the $100-150 range. This gives you decent height and width for small groups, plus room to hang some basic lighting.
For example, the Neewer 9 ft steel stand supports up to 44 lbs for around $130. It’s a great budget first buy! Then down the road if you want to upgrade, you’ll have a better idea of what features are most important for your style of shooting.
Setting Up Your Backdrop Stand
You’ve unpacked that shiny new stand from the box – woo! Now let’s get it set up for some gorgeous backdrops.
1. Extend the Legs
The stand breaks down into three segments:
- The legs
- Vertical support poles
- Crossbar
Start by extending the legs out to form a wide, sturdy base. Many have telescoping legs secured with a tension knob or lock pin. Make sure to tighten these down so the legs stay put!
2. Connect the Vertical Supports
Next, attach one vertical support pole to the center of each leg. Stand the legs nearly perpendicular to the ground, then slide the poles over the receptors and secure them into place.
If your stand uses individual hooks or bolts to connect each leg rather than a central hub, take care that all legs are the same height and angle. You want a stable, level platform.
3. Insert the Crossbar(s)
Now comes the top crossbar that will actually hold your backdrop. Insert it horizontally across the two vertical poles and lock the fittings into place.
Some larger stands come with two crossbars, one in front and one in back. Make sure they’re aligned evenly to keep everything squared and stable. Two bars allow more flexibility for positioning backdrops and lights.
4. Check Level and Stability
Before moving on, test the sturdiness of your constructed stand. Give it a gentle shake – it shouldn’t wobble!
You can use a small bubble level to double check the poles and crossbar are even. Uneven legs could make your backdrop tilt oddly and cause lights to slide around. If needed, gently adjust the heights of each leg.
Pro Tip: For carpets and slippery floors, secure the stand with sandbags weighing down the feet or one leg pointed into a corner.
Awesome! With the stand built, you’ve got a blank canvas all ready for your backdrop.

Hanging Your Backdrop Fabric
Now for the fun part – hanging your actual backdrop! Here are some tips:
Match Size to Stand
When selecting fabric, make sure your backdrop isn’t substantially larger than the width of your stand’s crossbar. Excess material dragging on the ground can cause wrinkles in images or even pull down your background mid-shoot.
For example, a 5 x 7 ft muslin paired with a 5 ft wide crossbar risks drag lines and strain. Instead size up to a 9 x 6 ft to give a few extra feet of taught backdrop across the bar.
Use Clamps for Attaching
Specialized backdrop clamps or clips make hanging fabrics a breeze. They grip the top hem without damaging material or letting it slide around.
Spring clamps with rotating jaws provide the most flexibility. Or plastic C-hooks insert through the backdrop’s top pocket rod sleeve. Ensure your stand includes compatible hangers – most use standard spring clamps.
Iron Out Wrinkles
For crisper shots, iron your backdrop to smooth out folds and creases before hanging. Let any printed image or patterns fully dry first too.
If existing material gets wrinkled during a shoot, try steaming the backdrop while still mounted. Or for small touch ups, use the edge of a credit card to temporarily flatten creased areas smooth.
Arrange Lights
Position lights in front aiming towards the backdrop to avoid shadows. Placing strips or a ring light behind the stand also helps light the background separately from subject key lights.
We’ll talk about backdrop lighting more soon. But in general, unitary backdrops want even, consistent illumination.
Weight Down Edges
To keep floor-length backdrops from billowing up at the bottom, secure the side edges with sandbags. Or install small metal hooks along the bottom for attaching binder clips or clothespins to add weight. Just don’t trip!
Now your backdrop is locked, loaded, and ready for action!
Adjusting Height, Angle & Position
So the stand is fully prepped with your backdrop fabricked up. But before bringing in any subjects, it’s smart to test different heights, angles, and positions.
Why fine tune things now? Because once lights and gear get clustered around the platform, it gets harder to make adjustments. So dial in placement while you still can!
Backdrop Height
Test mounting your backdrop at different crossbar heights. What works with the given ceiling clearance?
For full length standing poses, make sure lights can still angle down towards the floor without intersecting with people’s heads. Watch your noggin’!
Likewise when photographing kids or seated subjects, consider dropping the bar lower so the background fills more visual space behind them.
Backdrop Angle
The backdrop doesn’t necessarily need to stand perfectly perpendicular to the ground. Tilting it forward or back can add some dimension.
Just keep in mind angled fabric wrinkles more easily. Secure edges extra taut and steam out creases.
An angled set up also makes lighting trickier. You lose even diffusion of illumination and may need extra lamps or reflectors to compensate.
Position Relative to Subject
Nudge the entire stand left or right to frame subjects how you like. Scootching it backwards makes the backdrop more out of focus, emphasizing your foreground subject.
If shooting multiple people, position the stand to allow everyone to comfortably assemble in front. They shouldn’t be squeezed into a corner or tight space.
Eyeball from all angles how the backdrop placement impacts the scene and makes best use of surrounding room.
Get it looking how you like before locking in place. It’s ten times tougher later!
Lighting Your Backdrop
Alright, your backdrop is fully mounted and adjusted – woo! Now to focus on the role lighting plays in making it look its best.
Because regardless what luxe fabric you hang, if it’s not lit well, your photos will still fall flat. So let’s shine some, um… light on the subject!
Back Lighting
Arrange strips or a ring light behind your backdrop stand to cast light forward through the translucent material. This creates even illumination with no harsh shadows.
Clamp long strip lights horizontally to the legs in back. Or for more diffusion, ring lights surround the entire perimeter.
Back light intensity should roughly match that of your front key light so the backdrop doesn’t appear too bright or dark by comparison.
Bounce Lighting
Discover the transformative allure of landscape lighting with five compelling reasons to invest, just as expertly positioning key lights can enhance the visual appeal of your outdoor spaces; much like bouncing light off a reflector subtly elevates background exposure while providing primary illumination to the subjects, landscape lighting brilliantly illuminates your surroundings, creating a captivating ambiance that extends the enchantment of your outdoor spaces into the evening hours.
A white foam core board makes a great removable reflector. And silver or gold cards give backgrounds a stylish gleam!
Ambient Brightness
For moodier, lower key backdrops don’t overlook existing light sources. Open windows, practical lamps, or string lights can provide an evocative ambient glow.
Subtly bringing up the ambient brightness in a room establishes flattering contrast against silhouetted subjects. Just take care to balance room and added lighting so nothing blows out or muddies up.
Putting in a little love for both backdrop and key illumination makes a big difference. After all, contrast is what makes things pop!

Troubleshooting Common Problems
Alright, your stand is solid, backdrop stretched tight, lighting on point. You’ve thought through positioning and height for incoming subjects. Woo – we’re cruisin’ now!
But BEFORE you call places to start shooting, it pays to keep these common hiccups and mistakes in mind so they don’t trip you up mid-flow:
Wrinkles & Uneven Hanging
Little imperfections like folds and wrinkles get emphasized when lit. So stay vigilant smoothing out creases in fabric, securing edges taut so it hangs flat, and keeping clips evenly spaced.
Light Leaks
Harsh beams peeking out from behind the backdrop ruin the illusion. Make sure back lights are flagged off and not visible in-frame.
Distracting Elements
Keep an eye out for cords, stand hardware, or anything else visible creeping into the margins of your scene. A basic shot sweep catches unwanted extras before they become a big pain to edit out later.
Subject Blocking
Mind your subject’s position so they don’t accidentally hide behind a pole or cast a shadow on the background. Keep ’em front and centered!
Equipment Bumps
In the hustle and flow of a shoot, it’s easy to trip into the backdrop accidentally and knock things askew. Just take extra caution moving around the set once lighting and gear is all clustered around the stand. Steady now!
Overexposure
Boost those backdrop lights too much and you blow out all the crisp detail. Have someone watch for overexposed hot spots while you dial in illumination.
Alright, top mistakes covered – let’s get shooting! Bring in thefun and don’t let backdrops stress you. Just take it step-by-step like we walked through, adjust and adapt as needed, and you’ll have pro-looking imagery in no time!
FAQs
What color backdrop should I start with?
The classic white and black backdrops fit nicely in almost any space, but you can branch out into bolder colors as you expand your inventory.
How do I clean backdrops after use?
Use mild soap and water to spot clean backdrop fabrics, then let air dry fully stretched out to prevent mildew. Never machine wash or bleach thick canvas backdrops.
Where should I store backdrops when not using?
Keep fabrics loosely rolled (never tightly creased) in protective tubes and stored upright to prevent crushing and wrinkles long term.
What resolution should digital printed backdrops be?
Printed photo backdrops should have an image resolution around 1200-2400 DPI. Lower resolutions look visibly pixelated on camera.
Can I iron my wrinkled backdrop while it’s still hanging?
Yes, use a steam iron on low heat to release wrinkles and creases while the backdrop is still mounted. Just avoid direct contact with hardware clips or letting steam concentrate in one place too long. Work methodically.
Last Words
We covered a ton of ground here! From choosing the right stand and backdrop, to dialing in height, lighting, and positioning, to avoiding common mistakes.
Transforming your space into a festive wonderland is a joyous endeavor, and exploring creative ideas for unique Christmas decorations becomes even more enchanting when paired with the approachable use of a photo backdrop stand; just as setting up this versatile tool is made accessible with a little guidance, the impact of imaginative backdrops on holiday décor can bring a magical touch to your celebrations, making them invaluable for creative enthusiasts.
The key is taking it step-by-step:
- Set up a sturdy, balanced stand
- Mount your backdrop fabric smoothly and evenly
- Perfect placement and angle in the space
- Light both backdrop and subjects effectively
- Mind the details during shoots
Do that, and you’ll be cranking out pro-looking imagery in no time!

