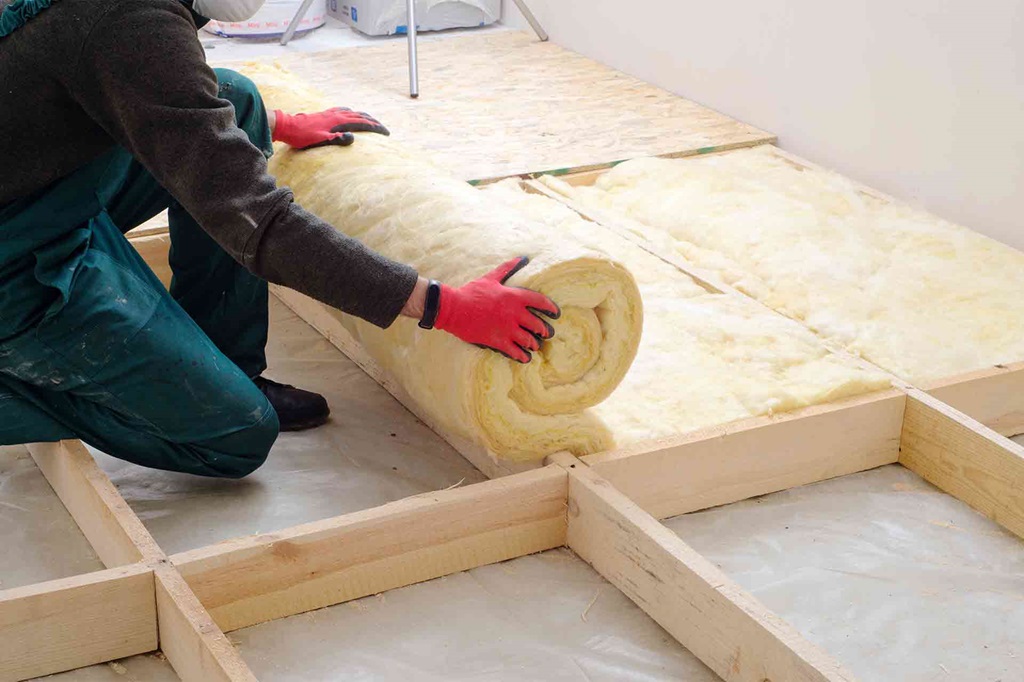
Living in a raised house built on piers, posts, or a crawlspace poses unique insulation and climate control challenges. Unlike a house with a basement or slab foundation, the underside of a raised structure is exposed to outdoor temperatures year-round. This can lead to uncomfortable winter floors, higher summer cooling costs, dust buildup, and even moisture issues over time.
Properly insulating the belly of your raised home is crucial for comfort, energy efficiency, and durability. This comprehensive guide will explore how do you insulate under a raised house.
Why Insulate Under a Raised House?
Insulating the underside of your raised home serves several important purposes:
Temperature Control
It adds insulation levels off indoor temperatures for consistent comfort all year. This also reduces energy usage from heating and cooling systems working overtime to compensate for an under-insulated floor.
Moisture & Humidity Control
Insulation under raised floors is a vapor barrier, preventing moist ground-level air from penetrating subfloor spaces. This can prevent issues like mold growth and wood rot over the long term.
Dust Control
Insulating exposed underfloor areas removes dust, debris, pests, and allergens that would otherwise blow into the floor framing. This promotes better indoor air quality.
Sound Dampening
Proper underfloor insulation blocks exterior noise like traffic, cutting down on indoor echoes for a quieter living environment.
Cost Savings
While installing underside insulation requires an upfront investment, you’ll save money over time through lower utility bills. And you’ll avoid expensive structural repairs by protecting wood framing from moisture damage.
How to Determine If You Need More Underfloor Insulation

The belly is likely under-insulated if your raised home feels drafty or has high energy bills.
Here are a few quick checks:
- Feel the underside of your floor when the temperature changes outside. An uninsulated floor will feel noticeably colder on cold days.
- Check for gaps in existing insulation that allow airflow. Look for sagging or damaged areas.
- Use a thermal camera to scan the underside of your home. This will reveal areas lacking insulation based on surface temperatures.
- Calculate the R-value of your existing underfloor insulation. Modern building codes recommend R-19 to R-30.
If your floor feels uncomfortable, your energy bills seem excessive, or the underside lacks adequate insulation, it’s time to address this crucial barrier.
Choosing the Best Insulation Materials
Several types of insulation can work for the undersides of raised floors, each with pros and cons.
Consider these factors when selecting materials:
Effectiveness
The thermal resistance, or R-value, measures effectiveness at resisting heat flow. Higher numbers mean better insulation.
Cost
Prices between insulation varieties can vary widely. Balance your budget with the R-value you want to achieve.
Ease of Installation
Some materials are simpler for DIY installation than others based on location access under your home.
Vapor Permeability
The ability to allow water vapor to pass through prevents moisture buildup. Closed-cell foams are vapor impermeable.
- Fiberglass batts – This affordable option offers a good R-value. However, installation can be complicated on the undersides of floors, and fiberglass lacks vapor control.
- Mineral wool – Slightly more expensive than fiberglass, mineral wool resists moisture and provides excellent sound dampening.
- Spray foam – Foams have very high R-value and custom fill cracks quickly. But closed-cell foam prevents vapor transfer and is costly.
- Rigid foam boards – Easy to install and affordable, but seams allow air infiltration without careful sealing during installation.
For most raised homes, fiberglass or mineral wool batts fit between floor joists and offer the best blend of performance, vapor permeability, and cost-effectiveness. Spray foams or rigid boards may suit some situations better but require professional installation.
How Much Insulation Do You Need?
Modern building codes generally recommend R-19 to R-30 insulation value for floors. However, many existing homes still fall short of these guidelines. Adding insulation brings older raised houses closer to modern standards for comfort and efficiency.
Using online calculators, calculate the current R-value of existing underfloor insulation or total thickness. Then, determine added insulation amounts and costs to reach your target R-value based on regional climate conditions and your budget. Cooler northern zones need more insulation than southern climates.
Installing Insulation Under a Raised House
Once you select insulation materials, proper installation is critical to maximize performance. Consider DIY or professional installation based on access, needed tools, and your abilities. Follow manufacturer guidelines closely.
Here is the step-by-step process:
1: Inspect and Prepare the Area
- Check for sagging floors, damaged joists, or moist areas needing repair before insulating.
- Seal any air gaps in flooring and around plumbing or wiring penetrations with caulk or spray foam.
- Clear away existing insulation if damp, moldy, or otherwise compromised.
2: Install a Vapor Barrier
- Staple plastic sheeting to the underside of floor joists to prevent moisture penetration.
- Overlap seams are at least 12 inches and sealed with durable tape.
3: Install Insulation Between Joists
- For batts, press tightly between joists to fill voids fully.
- Use wire or mesh supports to keep insulation from sagging over time.
- For loose fill, determine the correct coverage depth and blow in evenly.
4: Add Supplemental Insulation
- Use rigid foam boards around rim joists and blocking to reduce thermal bridging if needed.
- Seal board edges thoroughly with spray foam or caulk for an airtight seal.
5: Enclose Underside (Optional)
- Staple weather barrier wraps or rigid panels to joist framing if fully sealing and conditioning the crawlspace.
- Provide ventilation openings per codes for enclosed spaces.
Adding adequate underfloor insulation keeps your home comfortable through changing seasons while saving on energy costs. Maintain insulation levels and be vigilant for sagging damage or damp conditions requiring repairs under your raised foundation.
Key Takeaways on Insulating Raised Structures

To wrap up, remember these critical pointers:
- Properly insulating under raised floors saves energy dollars and prevents issues like mold growth in the long term.
- Choose insulation materials suitable for spanning joists with needed R-value, vapor permeability, and installation access.
- Carefully seal air gaps BEFORE installing fresh insulation to maximize effectiveness.
- Consider encapsulating insulation to control the home’s temperature, humidity, dust, and pests.
Adding adequate underfloor insulation goes a long way toward improved comfort and efficiency in your raised house. Take control over seasonal heat gain/loss and high energy bills by addressing this oft-neglected area. Don’t allow valuable conditioned air to escape so easily – keep it inside where you want it!
Frequently Asked Questions
Should I insulate floors or ceilings first?
Focus first on insulating the ceilings and attic spaces if currently under-insulated. Heat rises and escapes more readily through the top of homes. After addressing attic insulation, focus on protecting raised floors, which see more direct exposure to outdoor temperatures than slab foundations. Install batt insulation between floor joists before applying exterior wall cavity insulation.
Can I install underfloor insulation myself?
In most cases, yes. DIYers can readily install standard batt or loose-fill insulation materials under raised floors. Use help for access or when installing specialized products like spray foams properly. Consider pros for tricky sites with limited access underneath.
How do I calculate the R-value I need?
First, use online databases to find your heating or cooling days for your nearest city. Compared to insulation code minimums for your area and climate zone – adding more R-value than minimums cuts energy costs. Balance added costs with energy savings potential to right-size your insulation upgrade project.
Should I encapsulate the entire underneath of my home?
Sealing and encapsulating the foundations under homes helps control temperatures, pests, and moisture. However, encapsulating without proper moisture control and ventilation can backfire. Consider the pros and cons before fully finishing this area into the conditioned crawlspace. Partial encapsulating just around insulation leaves easier access for maintenance.
Can I use faced insulation even with a vapor barrier?
Usually, yes – the facing gives added protection against moisture penetration. Place faced insulation with the vapor barrier side against the floor sheathing with foggy plastic sheeting behind the facing. Just take care not to block designed ventilation gaps. Consult local codes for any restrictions in your area.

